The Complete Beginner's Guide to Homemade Sushi Creation
Getting Started with Sushi at Home
Creating sushi at home can seem daunting, but with the right ingredients and techniques, it becomes a rewarding culinary adventure. In this guide, we will walk you through three essential components of sushi-making: perfecting the rice, selecting fresh fillings, and mastering the rolling technique. Whether you're planning a fun dinner with friends or a quiet night of creative cooking, homemade sushi can be a delightful experience.
1. Cook Perfect Sushi Rice
The Foundation: Choosing the Right Rice
Begin your sushi journey by selecting the correct type of rice. The short-grain rice, often labeled as "sushi rice" in stores, is ideal because of its sticky texture when cooked, essential for holding the sushi roll together. Avoid using long-grain rice as it doesn’t have the right consistency.
Preparation Process
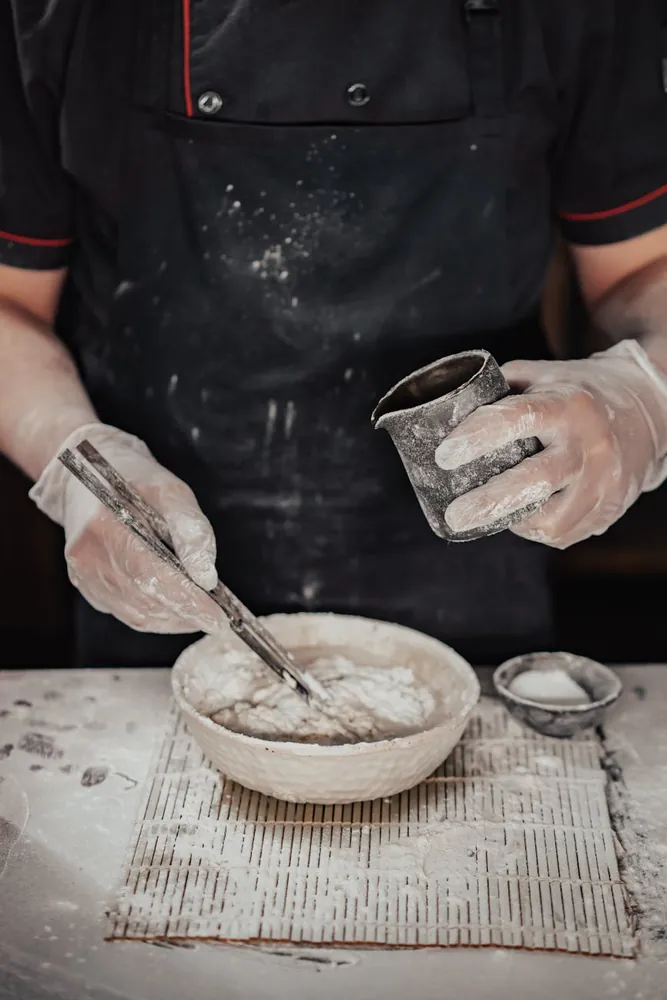
- Rinse Thoroughly: Place the rice in a bowl and cover it with cold water. Swirl it around to release excess starch and then drain. Repeat this process 3-4 times until the water runs clear.
- Cook Properly: Use a rice cooker for best results. Add 1 cup of rice to 1 1/4 cups of water. If you don’t have a rice cooker, a heavy-bottomed pot will do.
- Steam: Once cooked, let the rice steam for about 10 minutes without lifting the lid. This ensures the grains are fully cooked and fluffy.
Seasoning the Rice
Sushi rice requires a delicate balance of vinegar, sugar, and salt to achieve that signature taste. Here's how to make the seasoning:
- Ingredients: 1/4 cup of rice vinegar, 2 tablespoons of sugar, and 1 tablespoon of salt.
- Instructions: Heat the vinegar gently in a pan. Add sugar and salt, stirring until dissolved. Do not boil.
Once the seasoning cools, gently fold it into the rice with a wooden spoon or spatula. Use a cutting motion to avoid mashing the grains.
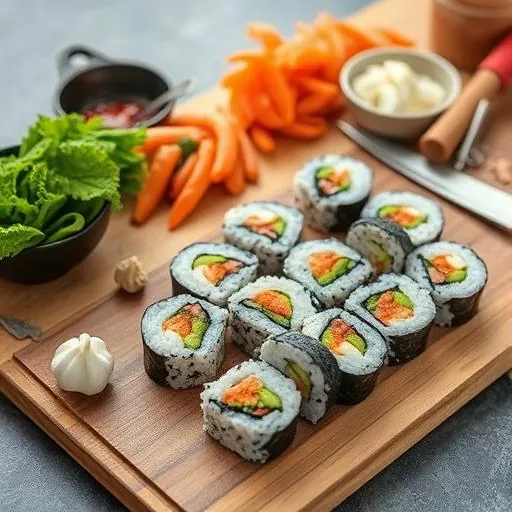
2. Choose Fresh Fillings
Selecting Ingredients
Sushi allows for creativity with fillings, but freshness is key. Here are some traditional options along with suggestions for vegetarians:
- Fish: Opt for sashimi-grade salmon or tuna from a reputable source. Ask your fishmonger for advice if unsure.
- Vegetables: Cucumber, avocado, and carrots are popular choices that add crunch and color.
- Additional Fillings: Cream cheese, pickled daikon radish, or spicy mayo for extra flavor.
Preparation Tips
- Slice Thinly: Ensure all ingredients are sliced uniformly to fit within your roll and create even bites.
- Avoid Overloading: Too much filling can make rolling difficult and lead to loose rolls.
3. Master the Rolling Technique
The Equipment
A bamboo mat (makisu) is essential for rolling sushi. Cover it with plastic wrap for easy cleaning and to prevent sticking.
Rolling Steps
- Lay Down Nori: Place a sheet of nori (seaweed) on the bamboo mat with the shiny side facing down.
- Add Rice: Wet your hands to prevent sticking, then spread a thin layer of rice over two-thirds of the nori sheet.
- Add Fillings: Lay chosen fillings across the center of the rice.
- Roll Tightly: Use the mat to lift the edge of nori over the fillings. Press gently and continue rolling until complete.
Troubleshooting Common Issues
- If your roll is too loose, apply more pressure while rolling or reduce the amount of filling.
- If your roll doesn’t seal properly, dab some water along the edge of the nori to help it stick.
Bringing It All Together
Once you've mastered these steps, try experimenting with different flavors and presentations. Homemade sushi is an art that combines taste with aesthetic appeal. Arrange your rolls on a platter and serve with wasabi, soy sauce, and pickled ginger for an authentic dining experience.
Your Sushi Adventure Awaits
Sushi making is not only about the food; it's about the joy of crafting something beautiful and delicious from simple ingredients. With practice, you'll gain confidence and develop your unique style. So roll up your sleeves and start your sushi adventure today!