A Detailed Guide to Making Neapolitan Pizza Dough from Scratch
The Art of Neapolitan Pizza Dough
Neapolitan pizza is a celebrated culinary tradition originating from Naples, Italy. At its core, the beauty of a Neapolitan pizza lies in its simplicity—fresh ingredients and a dough that’s crispy on the outside yet chewy on the inside. Achieving this balance starts with making an authentic Neapolitan pizza dough from scratch.
Ingredients: Simplicity is Key
The first step to mastering Neapolitan pizza dough is understanding the importance of each ingredient. Traditional Neapolitan pizza dough requires just four ingredients:
- Flour: Use 00 flour, known for its finely milled texture and low gluten content, essential for that classic tender yet chewy crust.
- Water: Preferably use cold, filtered water to maintain consistency and control over fermentation.
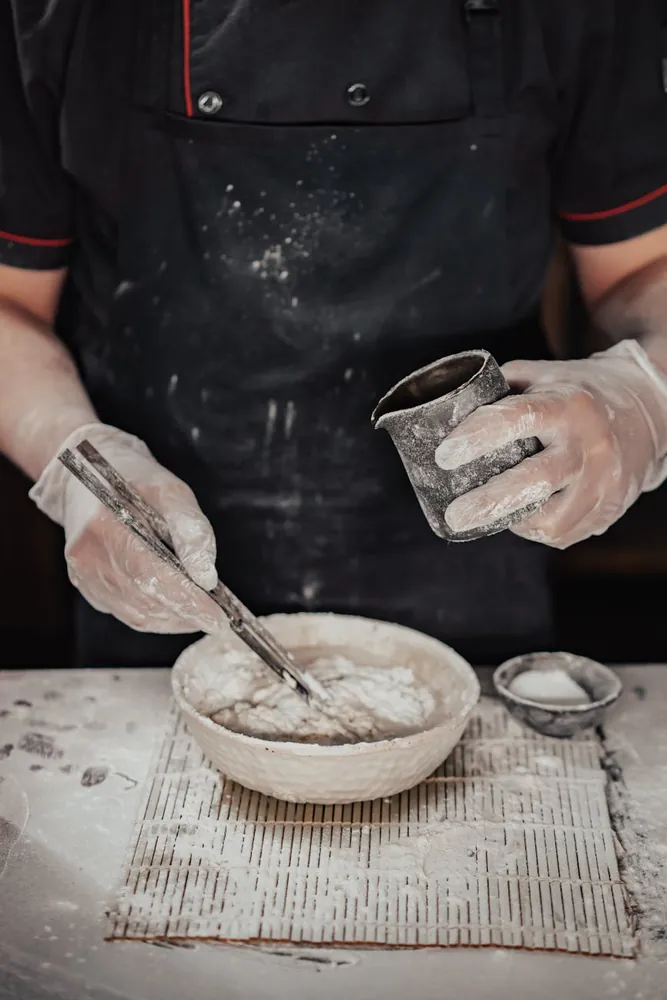
- Salt: Fine sea salt is ideal, enhancing flavor without overshadowing other ingredients.
- Yeast: A small amount of fresh or dry yeast is needed, as long fermentation will help develop flavor and structure.
Step-by-Step Process to Dough Perfection
1. Measuring Your Ingredients
Precision is vital in baking. Start by weighing your ingredients with a kitchen scale. For a standard batch of dough that makes four pizzas, use:
- 500 grams of 00 flour
- 325 grams of water (65% hydration)
- 10 grams of fine sea salt
- 3 grams of fresh yeast or 1 gram of dry yeast
2. Mixing and Kneading
In a large mixing bowl, dissolve the yeast in the water. Add the salt, ensuring it dissolves completely before gradually incorporating the flour. Stir until a shaggy dough forms.
Knead the dough by hand for about 20 minutes. Alternatively, use a stand mixer with a dough hook for around 10 minutes. The goal is to achieve a smooth, elastic dough that springs back when poked.
3. Fermentation: The Secret to Flavor
The fermentation process is where the magic happens. Transfer your dough to a lightly oiled bowl and cover it with a damp cloth or plastic wrap. Let it rise at room temperature (ideally around 21°C or 70°F) for about 8 hours.
If you prefer an even deeper flavor, you can opt for a cold fermentation. After an initial hour at room temperature, place the dough in the refrigerator for up to 72 hours. This slow fermentation enhances the dough's complexity and texture.
The Role of Technique in Dough Handling
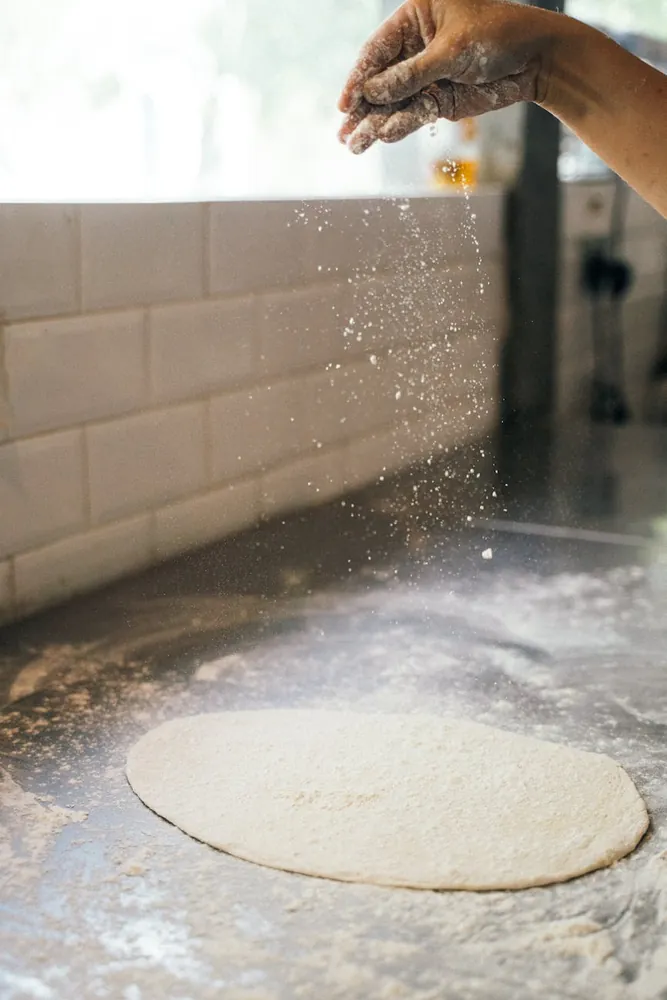
1. Dividing and Shaping
Once fermented, gently deflate the dough and divide it into four equal portions (around 200-250 grams each). Form each piece into a ball by folding the edges under themselves and rolling it on a clean surface until smooth.
2. Resting and Relaxing
Allow the dough balls to rest for at least 30 minutes before shaping them into pizzas. This resting period relaxes the gluten, making it easier to stretch the dough without tearing.
Troubleshooting Common Issues
Even seasoned bakers encounter challenges. Here are solutions to common issues:
- Tough Crust: Ensure you’re using the correct flour type and not over-kneading.
- Bland Flavor: Check your salt measurement and consider longer fermentation for enhanced taste.
- Poor Rise: Verify yeast freshness and accuracy in water temperature (too hot or cold can inhibit yeast activity).
Baking: Bringing It All Together
The Importance of High Heat
A traditional wood-fired oven can reach temperatures of up to 485°C (905°F). While home ovens typically max out at lower temperatures, using a pizza stone or steel can simulate these conditions. Preheat your oven as high as possible for at least an hour before baking.
The Art of Stretching
With your dough rested, begin stretching it by pressing from the center outward, leaving a slightly thicker edge for the crust. Rotate and stretch gently, using gravity to assist if necessary.
Topping with Care
A classic Margherita is adorned with tomato sauce, fresh mozzarella, basil leaves, and a drizzle of olive oil. Use sparingly; overload will make your pizza soggy.
From Oven to Table: The Final Touch
Bake each pizza for about 6-8 minutes or until the crust is blistered and charred in spots. Allow it to cool slightly before slicing to prevent cheese from sliding off.
Enjoy your labor of love—a true testament to traditional Neapolitan craftsmanship.